
Roof Repair: Emergency Response & Storm Solutions
Summary:
Water dripping through your ceiling at 2 AM. Missing shingles after last night’s storm. An ice dam pushing water under your eaves. These aren’t problems you can schedule for next Tuesday.
When your roof fails, the clock starts on potential damage to everything below it—ceilings, walls, insulation, belongings, and the structural integrity of your home. The difference between a manageable repair and a catastrophic loss often comes down to how quickly you respond and who you call.
If you’re reading this during an emergency, you need to know what qualifies as urgent, what to do right now, and how to find help that actually solves the problem. Let’s start with recognizing when your roof situation can’t wait.
Emergency Roof Leak Repair: When Minutes Matter
Not every leak is an emergency, but some absolutely are. The distinction matters because it determines whether you’re calling someone tonight or scheduling an appointment next week.
An emergency exists when water is actively entering your home, when structural integrity is compromised, or when waiting creates immediate safety risks. That includes water pouring through ceilings during a storm, large sections of missing shingles exposing underlayment, visible sagging or buckling in your roof deck, or water near electrical fixtures and wiring.
If you’re seeing any of these signs, you’re past the point of “wait and see.” The longer water travels through your roof system, the more places it can go—into insulation that loses all effectiveness when wet, onto wood framing that softens and rots, behind walls where mold starts growing within 24 to 48 hours. What starts as a ceiling stain this week becomes a structural repair next month if you don’t act.
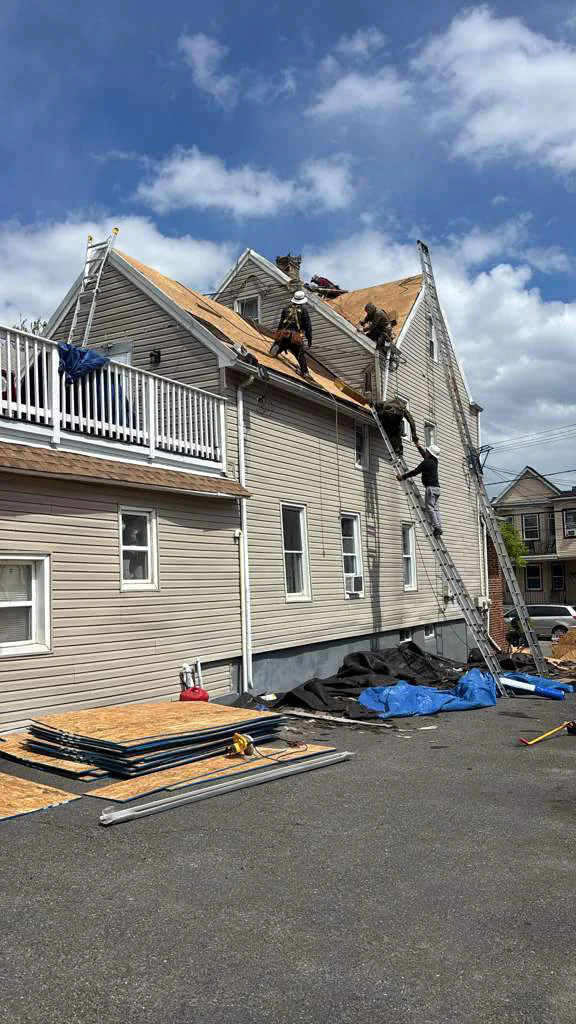
Leaking Roof: What to Do Before Help Arrives
You’ve identified an emergency. You’ve made the call. Now what do you do while waiting for a contractor to arrive?
First, protect what’s below. Move furniture, electronics, and anything valuable away from the affected area. If water is actively dripping, place buckets or containers to catch it—not to stop the leak, but to control where the water goes and prevent it from spreading across floors or soaking into carpets.
If you can safely access your attic and the leak location is obvious, you might be able to slow things down temporarily. But here’s the critical part: don’t go on your roof. Wet shingles are slippery. Damaged roof decking might not support your weight. Storms that caused the damage in the first place often haven’t fully passed. The risk of serious injury far outweighs any benefit of a DIY temporary fix.
What you can do from inside is contain the water and document everything. Take photos and videos of the damage—where water is entering, what it’s affecting, and the conditions outside if a storm just passed. This documentation becomes essential when you file an insurance claim, and the more you capture now, the stronger your case later.
If you’re dealing with a small leak that’s not actively pouring but is clearly coming through, you still want professional eyes on it soon. Even minor water intrusion points to a failure somewhere in your roof system, and small problems rarely stay small. The water you’re seeing inside often traveled a significant distance from where it actually entered the roof, which means the real damage might be much larger than what’s visible.
One thing homeowners often overlook: your electrical system. If water is dripping near outlets, light fixtures, or anywhere you see wiring, shut off power to that area if you can do so safely. Water and electricity create serious hazards, and protecting your family comes before protecting your property.
Water Leak Ceiling: Understanding the Path Water Takes
When you see a water stain on your ceiling or feel a drip, your first instinct might be to look directly above for the source. That instinct is wrong more often than it’s right.
Water doesn’t fall straight down through a roof system. It follows the path of least resistance, which means it can enter your roof in one location, travel along rafters or underlayment, and show up inside your home several feet away from the actual entry point. This is why finding a leak often requires professional expertise—what you’re seeing is a symptom, not the source.
The roof system itself is designed as a layered defense. Shingles shed water. Underlayment provides a secondary barrier. Flashing seals vulnerable points where the roof plane changes or where penetrations occur. When water makes it past all these layers and into your living space, it means multiple things have failed.
That ceiling stain you’re looking at represents water that has already saturated insulation, soaked into wood, and potentially spread across a much larger area than the visible damage suggests. By the time you see it inside, the problem outside has existed long enough to overwhelm your roof’s defenses.
This is why professional leak detection matters. We use moisture meters, thermal imaging, and systematic inspection techniques to trace water back to its source. We’re not just fixing the spot where you see water—we’re finding and repairing the actual failure point, which might be at a chimney flashing, in a valley, around a vent pipe, or at a spot where previous repairs were done incorrectly.
The age and construction of your home also affects how water behaves once it enters. Union County’s housing stock includes many homes built between 1900 and 1970, which means original roof systems have been replaced multiple times. Each replacement potentially introduced new variables—different materials, varying quality of workmanship, shortcuts taken by previous contractors. Understanding your specific roof’s history and construction helps identify where failures are most likely to occur.
Want live answers?
Connect with a USA Home Remodeling LLC expert for fast, friendly support.
Roof Inspection Cost: What Free Actually Means
You’ll see “free inspection” advertised by nearly every roofing contractor. But free doesn’t always mean the same thing, and understanding what you’re actually getting matters when you’re trying to make informed decisions during a stressful situation.
A legitimate free inspection means a licensed contractor comes to your property, assesses your roof’s condition, identifies any damage or potential issues, and provides you with a written report and estimate—all without charging you a fee or obligating you to hire them. This is standard practice and reflects confidence in their ability to earn your business through quality assessment and fair pricing.
What free should not mean is a five-minute glance from the ground followed by pressure to sign a contract immediately. It shouldn’t mean a contractor who only wants to talk about full replacement when you called about a repair. And it definitely shouldn’t mean someone showing up unsolicited after a storm, claiming they noticed damage while “working in the neighborhood.”
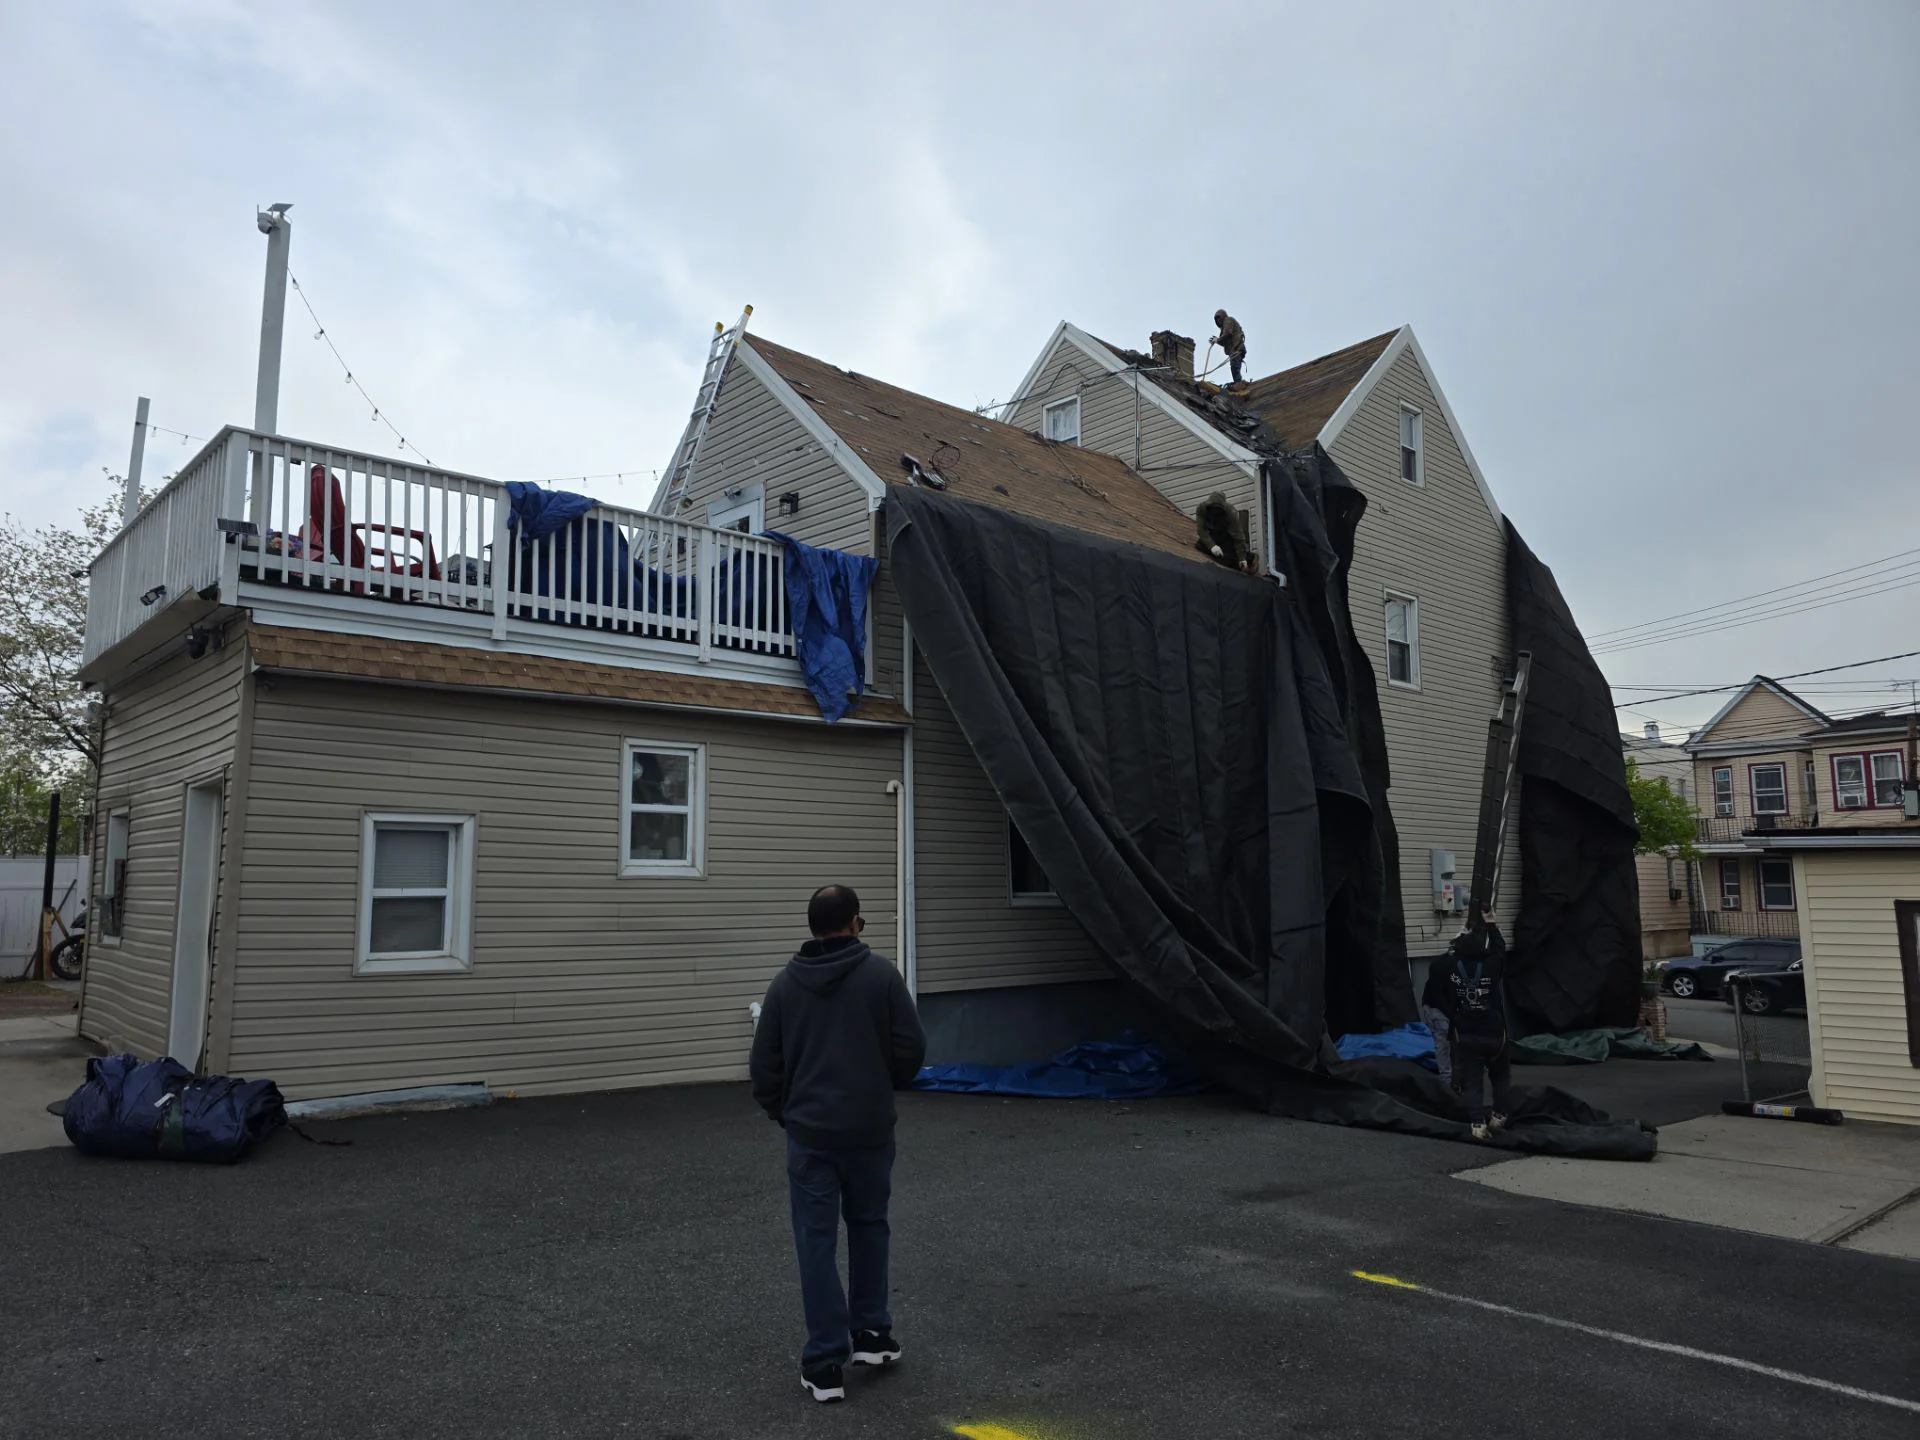
Chimney Inspection: A Common Leak Source
If your home has a chimney, you have one of the most common leak sources in residential roofing. Chimneys interrupt the roof plane, which creates multiple potential failure points where water can enter.
The flashing around a chimney—the metal that seals the gap between masonry and roofing material—takes constant abuse from thermal expansion and contraction, weather exposure, and age. When flashing fails, water runs straight down the outside of the chimney and into your home. The leak often shows up on a wall or ceiling near the chimney, but the actual entry point is at the roof line.
A proper chimney inspection during a roof assessment examines the condition of both the step flashing (the pieces that run up the sides) and the counter flashing (the pieces embedded in the chimney mortar). We check for rust, separation, damaged sealant, and whether the flashing was installed correctly in the first place. Many chimney leaks stem from improper installation during a previous roof replacement, where shortcuts were taken or the flashing wasn’t integrated properly with the new roofing material.
Chimney-related leaks can be deceptive because they don’t always happen during every rain. If wind direction matters—if you only see water during storms that hit from a certain direction—that’s a strong indicator that flashing has failed on one side of the chimney. This type of intermittent leak is still serious, but it requires careful inspection to identify the specific failure point.
Repairing chimney flashing correctly isn’t a quick patch job. It often requires removing shingles around the chimney, installing new flashing that’s properly integrated with the roof system, and ensuring everything is sealed and secured to prevent future failure. Done right, it solves the problem permanently. Done wrong, you’ll be dealing with the same leak again within a year or two.
Fix Ceiling Leak: Interior vs. Exterior Solutions
When water is actively dripping into your home, the urge to fix it from inside is strong. And in some emergency situations, an interior patch can provide temporary relief. But understanding the limits of interior fixes prevents you from creating bigger problems while thinking you’ve solved the issue.
Fixing a ceiling leak from inside addresses the symptom, not the cause. You can seal the hole where water is coming through your drywall, but that doesn’t stop water from entering your roof. It just redirects it to somewhere else—often somewhere you can’t see, where it continues causing damage until the next time it finds a way through.
The proper sequence for addressing an active leak is: stop the water at its source (the roof), then repair the interior damage. Trying to do it the other way around is like mopping the floor while the faucet is still running.
That said, emergency situations sometimes require immediate action before a contractor can arrive. If you’re dealing with water actively pouring in and you need to protect your home right now, focus on containment—not repair. Place buckets, move belongings, use tarps to cover furniture. If you can safely access your attic and identify where water is coming in from above, you might be able to direct it into a container rather than letting it spread across the ceiling. But these are temporary measures to minimize damage, not solutions.
Once the roof is properly repaired and no more water is entering, then you address interior damage. That might mean replacing water-damaged insulation, cutting out and replacing sections of drywall, repairing or replacing affected framing, and treating any areas where mold has started to develop. This is why acting quickly on the roof repair itself is so important—every day you wait adds to the interior restoration work you’ll eventually need to do.
We coordinate this properly. We stop the leak at the roof, assess what interior damage has occurred, and either handle the full restoration ourselves or work with specialists who can address structural, drywall, and mold remediation needs. This coordinated approach ensures nothing gets missed and that repairs happen in the right order.
Seal Roof Leaks: Temporary vs. Permanent Solutions
When a contractor talks about sealing a roof leak, the first question you should ask is whether they’re describing a temporary measure or a permanent repair. Both have their place, but confusing the two creates problems.
Temporary sealing—emergency tarping, roof patch applications, sealant around a specific failure point—serves one purpose: stop active water intrusion until proper repairs can be completed. These measures buy you time. They protect your home from further damage while you wait for materials, better weather, or the contractor’s schedule to allow for permanent work.
Permanent sealing means addressing the root cause. It might involve replacing damaged shingles and underlayment, rebuilding flashing, repairing or replacing sections of roof decking, or correcting installation errors from previous work. This type of repair restores your roof’s integrity and is designed to last for years, not weeks.