
Steel Roofing: Seam Construction Methods
Summary:
You’ve seen metal roofs that look sharp after decades. You’ve also probably seen ones that buckle, leak, or show gaps where panels should lock tight. The difference isn’t just the material—it’s how those panels connect. Seam construction determines whether your steel roofing weathers New Jersey’s freeze-thaw cycles and wind-driven rain for 50+ years, or starts failing within the first decade. If you’re weighing metal against asphalt or comparing quotes that range wildly in price, understanding seam methods gives you the clarity to spot quality work from the start. Here’s what actually matters when panels meet.
What Is Seam Roof Construction and Why It Matters
Seam construction is how individual steel roofing panels connect to each other and attach to your roof deck. Think of it as the backbone of the entire system. The seam is where panels overlap, lock together, or get crimped—and it’s also the most vulnerable point if done incorrectly.
In standing metal roof systems, seams run vertically from eave to ridge. The way those seams are formed and fastened determines how well water sheds, how panels handle thermal expansion, and whether fasteners stay hidden from UV exposure and moisture. Poor seam work leads to leaks, panel separation, and premature failure. Quality seam construction, on the other hand, creates a continuous weather-tight surface that moves with temperature changes without compromising integrity.
For Union County homeowners, this matters because NJ weather doesn’t mess around. Your roof faces heavy snow loads in winter, intense summer heat, and rapid temperature swings in spring and fall that cause materials to expand and contract repeatedly. A steel roof with properly executed seams handles all of it. One with shortcuts becomes a liability.
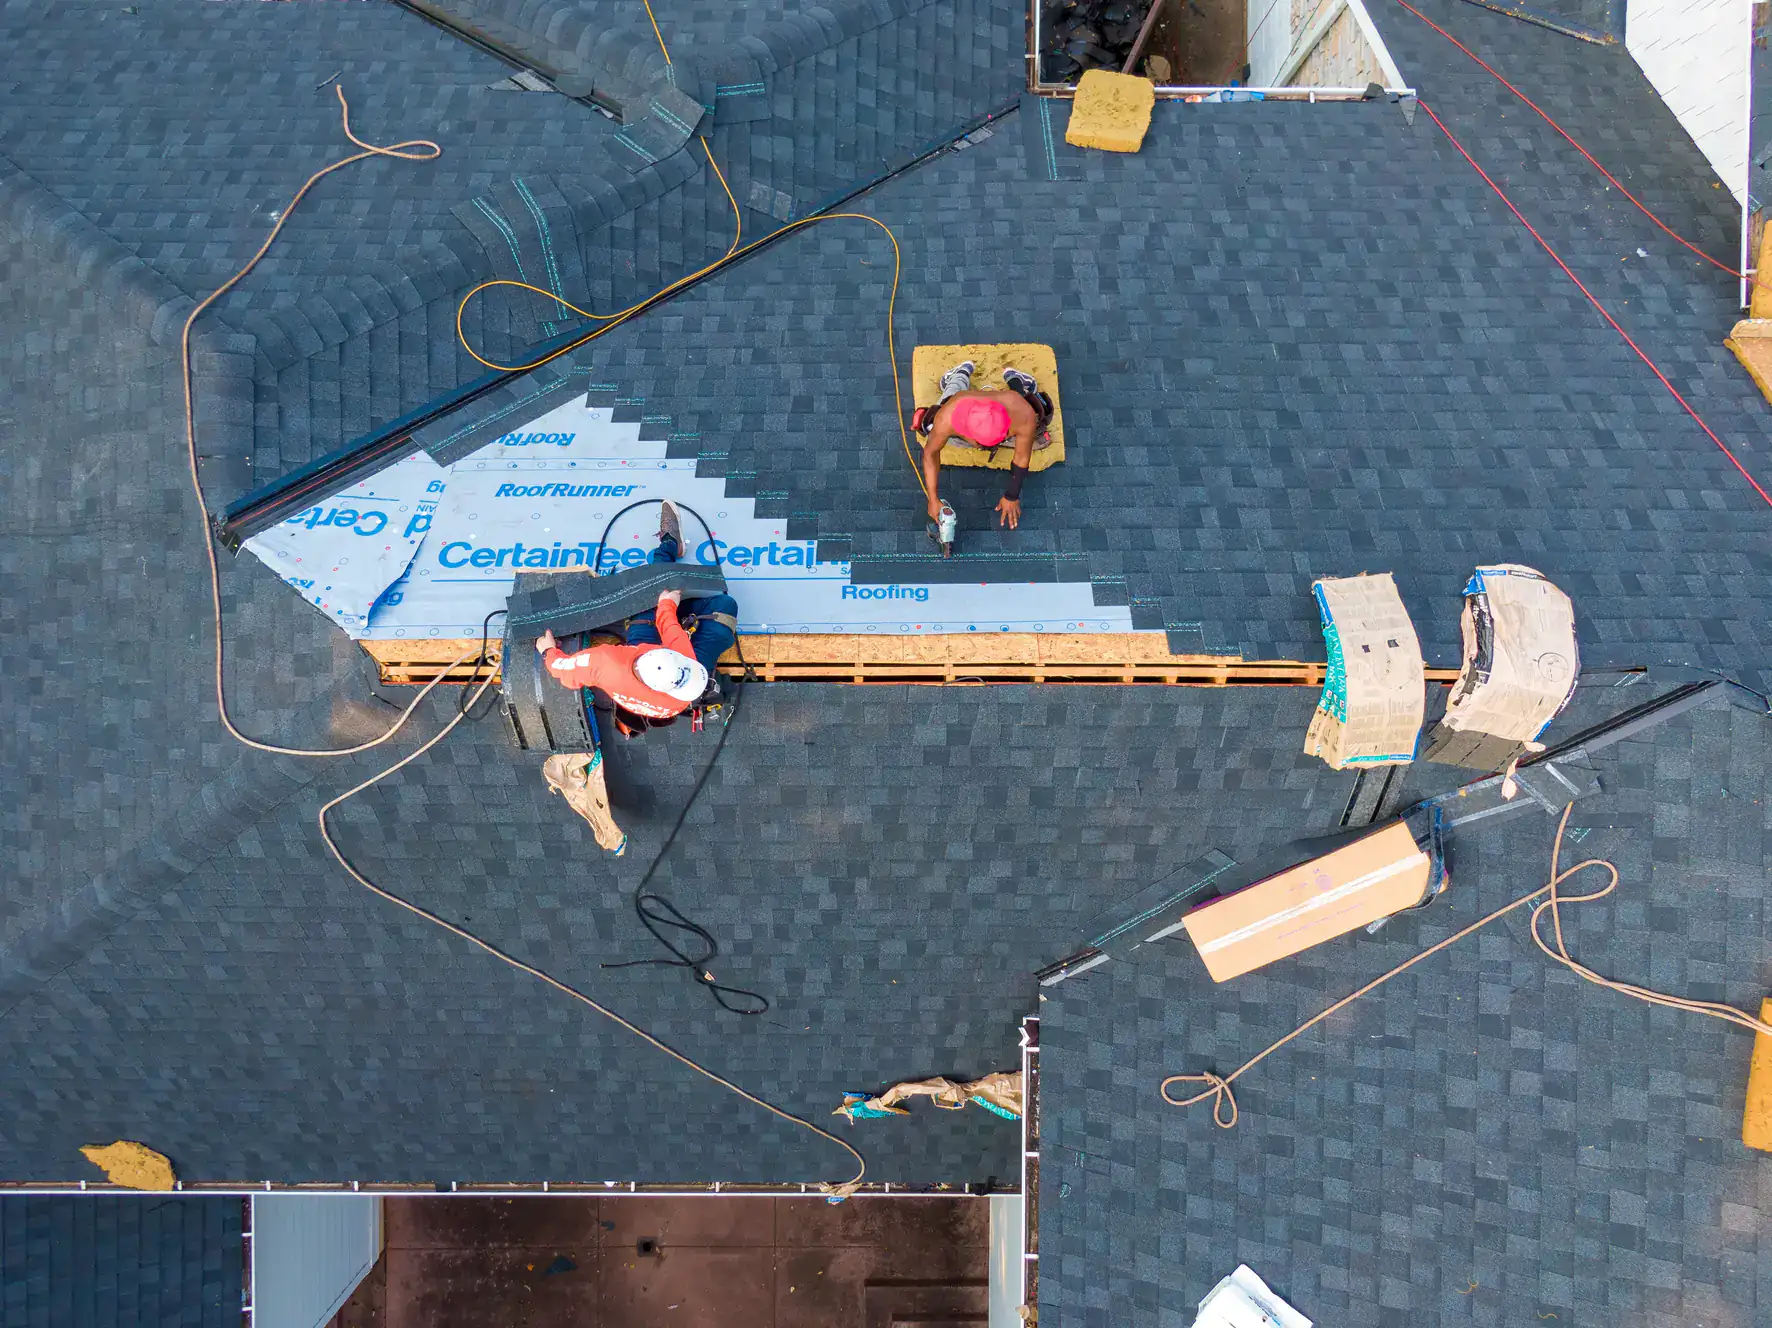
Standing Seam Metal Roofing: The Concealed Fastener Advantage
Standing seam systems are the gold standard for residential steel roofing, and the reason comes down to one critical feature: concealed fasteners. Unlike exposed fastener panels where screws penetrate the face of the metal, standing seam panels use clips that attach to the roof deck beneath the seam itself. The next panel snaps or locks over those clips, completely hiding the fasteners from weather exposure.
Why does this matter? Fasteners are the weak link in any roofing system. UV rays degrade rubber washers. Moisture works its way under screw heads. Thermal expansion causes fasteners to loosen over time. When fasteners sit on the roof surface, all of these forces attack them directly. Standing seam construction eliminates that vulnerability entirely.
There are different types of standing seam systems—snap-lock, mechanical seam, and variations in between—but they all share this core principle. Panels interlock at raised vertical seams, and clips underneath allow the metal to expand and contract with temperature changes without stressing the fasteners. This “floating” design is what gives standing metal roofs their exceptional wind resistance (often rated for 120-140 mph gusts) and long-term durability.
The panels themselves are typically 24-gauge steel, though thickness can range from 22 to 26 gauge depending on the application. Panel widths run 12 to 18 inches, with 16 inches being most common. Seam heights vary from 1 to 3 inches, with 1.5 to 2 inches offering the best balance of performance and aesthetics for residential projects. These aren’t just specs—they’re engineered dimensions that affect how water sheds, how snow slides off, and how the roof performs under stress.
Proper installation requires precision. Panels must be squared off from the eave to prevent a crooked appearance. The first panel sets the tone for the entire roof, so alignment matters from the start. Clips get spaced according to wind load requirements—typically every 12 to 24 inches depending on your location and roof pitch. Each panel locks into the previous one, creating a continuous, weather-tight surface with no exposed penetrations.
For NJ homes dealing with freeze-thaw cycles and ice dams, this design is especially valuable. Water can’t get trapped under fastener heads because there aren’t any on the surface. Snow slides off more easily thanks to the smooth metal and raised seams. And when spring storms bring wind-driven rain, the interlocking seams keep water moving down and off the roof instead of finding gaps to exploit.
Snap-Lock vs. Mechanical Seam vs. Nail Flange: Comparing Installation Methods
Not all standing seam systems install the same way, and the method affects both performance and cost. The three main types—snap-lock, mechanical seam, and nail flange—each have distinct installation processes and trade-offs worth understanding.
Snap-lock panels are designed for easier installation. The male and female legs of each panel are shaped to snap together with hand pressure or a rubber mallet. No special seaming tools required. Clips attach to the roof deck, the panel slides into place, and the next panel snaps over it. This makes snap-lock systems faster to install and more accessible for residential projects where cost and timeline matter. The downside? They’re not quite as weather-tight as mechanical seam systems and typically work best on roofs with a 3:12 pitch or steeper. They’re a solid choice for most Union County homes, especially when installed by experienced contractors who understand proper clip placement and panel alignment.
Mechanical seam systems take things up a notch. After panels are positioned, a mechanical seamer crimps the seam edges together, creating an extremely tight, weather-resistant connection. This method is ideal for low-slope roofs (as low as 0.5:12 pitch) and areas that see heavy rain or standing water. The seaming process requires specialized tools and more skill, which adds to labor costs, but the result is the most weather-tight standing seam option available. If your roof has complex valleys, dormers, or areas prone to water pooling, mechanical seaming is worth the investment.
Nail flange (also called fastener flange) is a different animal. It looks like a standing seam system, but instead of using clips, the panels fasten directly to the roof deck through the male leg. The female leg then snaps over to hide the fastener heads. It’s cheaper and faster to install because you’re eliminating clips, but you’re also sacrificing performance. The panels can’t move freely with thermal expansion, which can lead to buckling or panel distortion over time. Fasteners rely solely on their head to hold the panel down, which creates a potential failure point. Most experienced contractors recommend avoiding nail flange systems for homes where longevity and weather resistance are priorities.
Here’s the reality: if you’re investing in steel roofing for its durability and low maintenance, don’t undercut that investment with a nail flange system to save a few hundred dollars. Snap-lock offers a good balance of performance and cost for most residential applications. Mechanical seam is the premium choice for challenging roof conditions or homeowners who want the absolute best weather protection. And nail flange? It has its place in budget-conscious projects, but it’s not where you want to be if you’re planning to stay in your home long-term.
The installation quality matters just as much as the system type. Panels need to be cut precisely, especially the first and last pieces, to ensure even width on both sides of the roof. Underlayment must be high-heat ice and water shield—regular peel-and-stick membranes can’t handle the temperatures under metal and will ooze out from the eaves. Flashing details around chimneys, vents, and valleys require careful attention because those are the spots where water tries to sneak in. And every clip, every panel, every seam needs to account for thermal movement. Metal expands and contracts significantly with temperature changes. If the installation doesn’t allow for that movement, you’ll end up with warped panels, popped fasteners, or worse.
Want live answers?
Connect with a USA Home Remodeling LLC expert for fast, friendly support.
How Standing Metal Roof Installation Protects Against NJ Weather
New Jersey doesn’t go easy on roofs. Winter brings freeze-thaw cycles that crack shingles and create ice dams. Spring storms deliver wind-driven rain that finds every weak point. Summer heat bakes roofing materials, and fall brings rapid temperature swings that stress fasteners and seams. Standing steel roof systems are engineered specifically to handle all of it—but only when installed correctly.
The concealed fastener design keeps screws protected from moisture, UV degradation, and thermal stress. Clip systems allow panels to move as temperatures shift, preventing the buckling and distortion that happen when materials can’t expand naturally. The smooth metal surface sheds snow quickly, reducing weight on your roof structure and minimizing ice dam formation. And those raised, interlocking seams create a continuous barrier that keeps water moving down and off the roof instead of pooling or seeping under panels.
Union County homes face additional challenges from coastal wind influence and heavy snow loads. A properly installed standing seam system with the right gauge steel and appropriate clip spacing can withstand wind speeds well above what typical storms deliver. The interlocking panels resist uplift far better than individual shingles that can lift or tear in high winds. And because there are no exposed fasteners to work loose, the system maintains its integrity year after year.
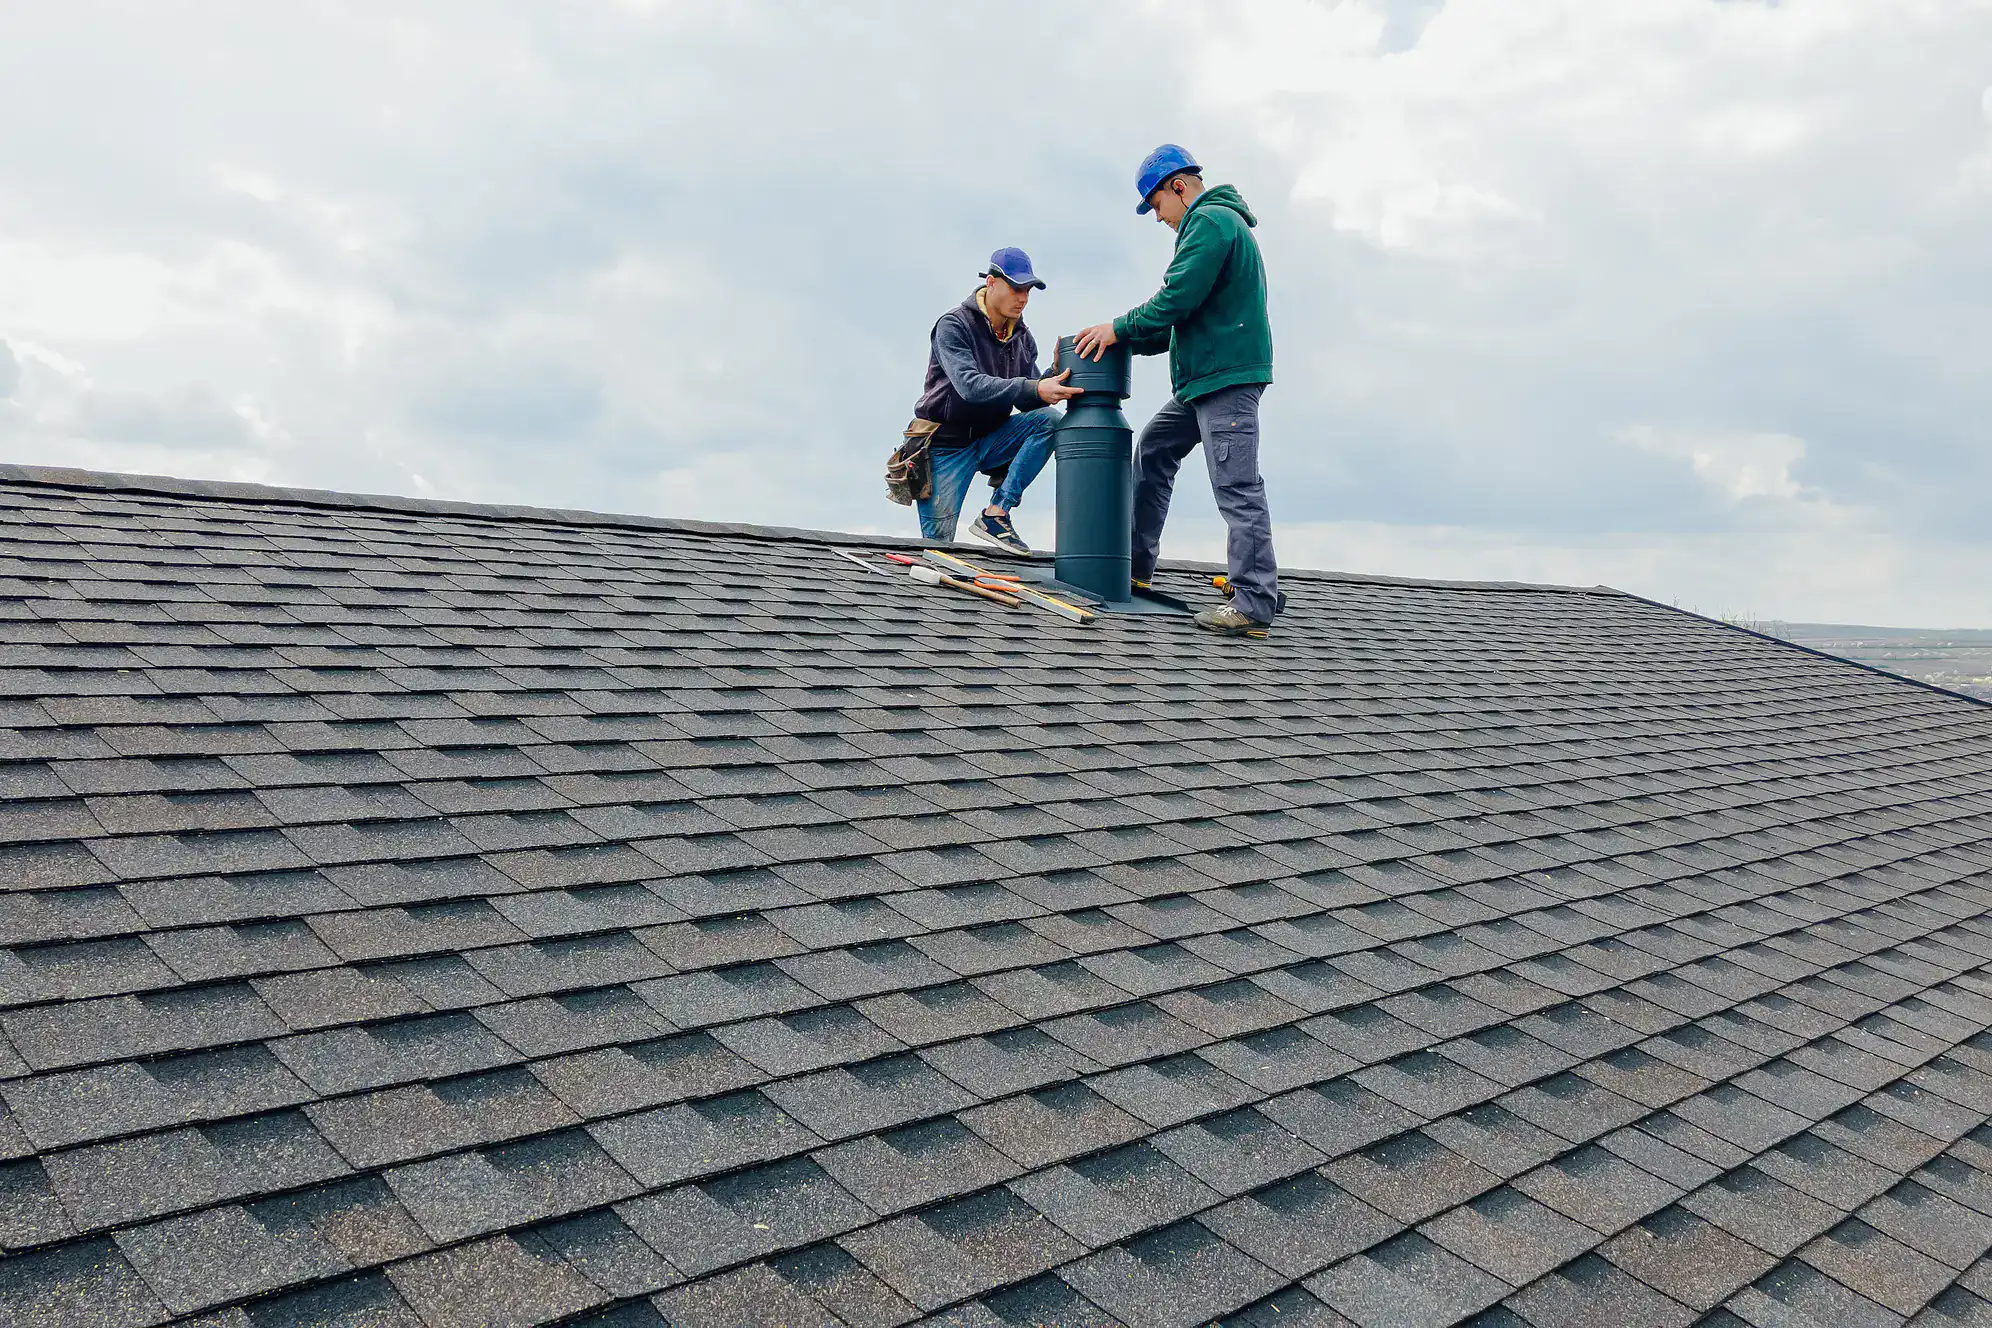
Steel Roofing Materials: Gauge, Coatings, and Longevity
Not all steel roofing is created equal, and the material quality directly impacts how long your roof lasts and how well it performs. The two main factors to understand are gauge (thickness) and coating type.
Gauge refers to the thickness of the steel. Lower numbers mean thicker metal. For residential standing seam roofing, 24-gauge is the most common choice and offers the best balance of strength, weight, and cost. Some contractors may offer 26-gauge to reduce costs, but thinner steel is more prone to denting from hail or falling branches and doesn’t perform as well under heavy snow loads. On the flip side, 22-gauge is thicker and stronger but adds weight and expense without much practical benefit for most homes. Stick with 24-gauge unless your roof has specific structural concerns or you’re in an area with extreme weather exposure.
Coating is where steel roofing gets its weather resistance and longevity. Galvalume is the industry standard—a steel core coated with a zinc-aluminum alloy that provides excellent corrosion protection. It’s the same material used in commercial roofing and comes with manufacturer warranties of 25+ years. For added protection and aesthetics, Galvalume steel gets topped with a paint system. High-performance coatings like Kynar 500 or Hylar 5000 (PVDF paints) offer superior fade resistance, chalk resistance, and durability. These premium coatings can last 40+ years and often come with manufacturer warranties to back that up.
The combination of 24-gauge Galvalume steel with a quality PVDF paint system is what gives standing seam roofs their 50-70 year lifespan. Compare that to asphalt shingles that last 15-25 years, and the value proposition becomes clear. Yes, the upfront cost is higher. But you’re eliminating multiple roof replacements over the life of your home, avoiding the disruption and expense that comes with tearing off and replacing a roof every couple of decades.
For Union County homes, corrosion resistance matters. Freeze-thaw cycles, ice melt chemicals, and moisture from snow and rain all attack roofing materials. Galvalume’s zinc-aluminum coating creates a barrier that prevents rust from taking hold. Even if the paint gets scratched (from a falling branch, for example), the Galvalume underneath continues protecting the steel core. It’s a layered defense system that keeps working even when the outer layer gets compromised.
Color choice also plays a role in performance. Lighter colors reflect more solar heat, which can reduce cooling costs in summer. Darker colors absorb heat, which can help with snow shedding in winter. For NJ’s climate, a mid-tone color often provides the best balance—enough reflectivity to manage summer heat without sacrificing winter performance.
What to Expect During Professional Standing Steel Roof Installation
Understanding the installation process helps you know what to look for when evaluating contractors and ensures you’re getting quality work. A professional standing steel roof installation follows a specific sequence, and shortcuts at any stage can compromise the entire system.
It starts with tear-off (if you’re replacing an existing roof). Old shingles, underlayment, and flashing get removed down to the roof deck. This exposes the decking so we can inspect for soft spots, rot, or structural issues that need repair before new roofing goes on. Some homeowners ask about installing metal over existing shingles to save money. It’s possible in certain situations, but we recommend against it. You lose the opportunity to inspect and repair the deck, and imperfections in the old roof will telegraph through the new panels, creating an uneven appearance.
Once the deck is clean and any repairs are complete, high-heat ice and water shield goes down as underlayment. This isn’t optional—regular peel-and-stick membranes can’t handle the heat buildup under metal roofing and will fail. The underlayment creates a secondary water barrier and acts as a slip sheet that allows panels to expand and contract without binding.
Next comes the trim work. Eave trim (drip edge) gets installed along the bottom edge of the roof. This provides a finished edge and a surface for the bottom of the panels to hook onto. Rake trim goes along the gable ends. Valley trim gets installed in any roof valleys, with careful attention to creating a watertight transition. All of this trim work happens before panels go on, and it’s critical for proper water management.
Panel installation begins at one end of the roof and works across. The first panel is the most important—if it’s not square with the eave, every subsequent panel will be off, creating a crooked appearance or gaps at the seams. We use the 3-4-5 triangle method or similar techniques to ensure the starting panel is perfectly aligned. Clips get fastened to the deck at the specified spacing, and the first panel slides into place. The male leg of the next panel interlocks with the female leg of the previous panel, and the process repeats across the roof.
For snap-lock systems, panels lock together with hand pressure or light taps from a rubber mallet. For mechanical seam systems, a seaming tool crimps the edges together after panels are positioned. Either way, the goal is a tight, continuous seam that sheds water and resists wind uplift.
Ridge caps, Z-flashing, and other trim pieces go on last to close the roof at the peak and any transitions. These finishing details are where water is most likely to penetrate if not done correctly, so we take our time here. Proper flashing around chimneys, skylights, and vent pipes requires custom cutting and careful sealing to create a weathertight connection.
The entire process for a typical residential roof takes 2-5 days depending on size, complexity, and weather. You’ll hear noise—metal panels being cut, tools running, workers moving around. But a professional crew will protect your property, clean up debris daily, and communicate clearly about progress and any issues that come up.
What you shouldn’t see: exposed fasteners on the field of the roof (except at the edges where panels attach to trim), gaps between seams, panels that don’t line up evenly, or underlayment that’s not rated for metal roofing. Those are red flags that indicate either inexperience or corner-cutting, both of which will cost you down the road.
Choosing the Right Steel Roofing System for Your Union County Home
Steel roofing offers unmatched durability, weather resistance, and longevity for New Jersey homes—but only when the seam construction is done right. Concealed fastener systems protect against moisture and UV exposure. Proper clip spacing allows thermal movement without stressing panels. Quality materials like 24-gauge Galvalume steel with PVDF coatings deliver decades of performance. And professional installation ensures every seam, every panel, and every flashing detail works together as a complete weather-tight system.
If you’re weighing your options or trying to make sense of competing quotes, focus on the details that matter: system type (snap-lock or mechanical seam for most homes, not nail flange), material quality (24-gauge with premium coatings), and contractor experience with standing seam installations specifically. The upfront investment is higher than asphalt, but you’re eliminating future replacements and gaining energy savings, insurance discounts, and a roof that handles everything NJ weather throws at it.
For Union County homeowners ready to explore steel roofing options, we bring over a decade of local experience, manufacturer certifications, and a track record of quality installations backed by verified customer reviews. Transparent pricing, free estimates, and hands-on communication from start to finish—because your roof deserves more than shortcuts.