
Standing Seam Metal Roof Installation
Summary:
You’ve decided asphalt shingles aren’t cutting it anymore. Maybe you’re tired of replacing your roof every 15 years, or you want something that actually handles New Jersey winters without constant repairs. Standing seam metal roofing keeps coming up in your research, and for good reason—it’s one of the few systems designed to last decades, not just survive them.
But here’s what most guides won’t tell you upfront: the quality of installation matters more than the material you choose. A standing seam metal roof installed correctly protects your home for 50+ years. Installed poorly, you’re dealing with leaks, buckling panels, and a warranty that won’t cover the mess.
Let’s talk about what goes into a proper standing seam installation, the choices you’ll actually face, and how to make sure your project doesn’t become a cautionary tale.
What Makes Standing Seam Metal Roof Installation Different
Standing seam systems use long metal panels that run vertically from your roof’s ridge down to the eaves. The panels connect along raised seams—typically 1-2 inches tall—that interlock and hide all fasteners beneath the surface. That’s the critical difference. Traditional metal roofing screws directly through the panels, creating 2,500 to 3,000 potential leak points on an average home.
With standing seam, clips attach to your roof deck and hold the panels in place without penetrating the weather surface. The panels can expand and contract with temperature changes—something metal does constantly in New Jersey—without stressing the fasteners or creating gaps.
This isn’t just about aesthetics. Those hidden fasteners are why standing seam outperforms other metal systems in heavy rain, wind-driven storms, and the freeze-thaw cycles Union County sees every winter. But only if the installation follows the manufacturer’s specifications. Shortcuts during installation eliminate every advantage the system offers.
How Standing Seam Metal Roofers Prepare Your Roof Deck
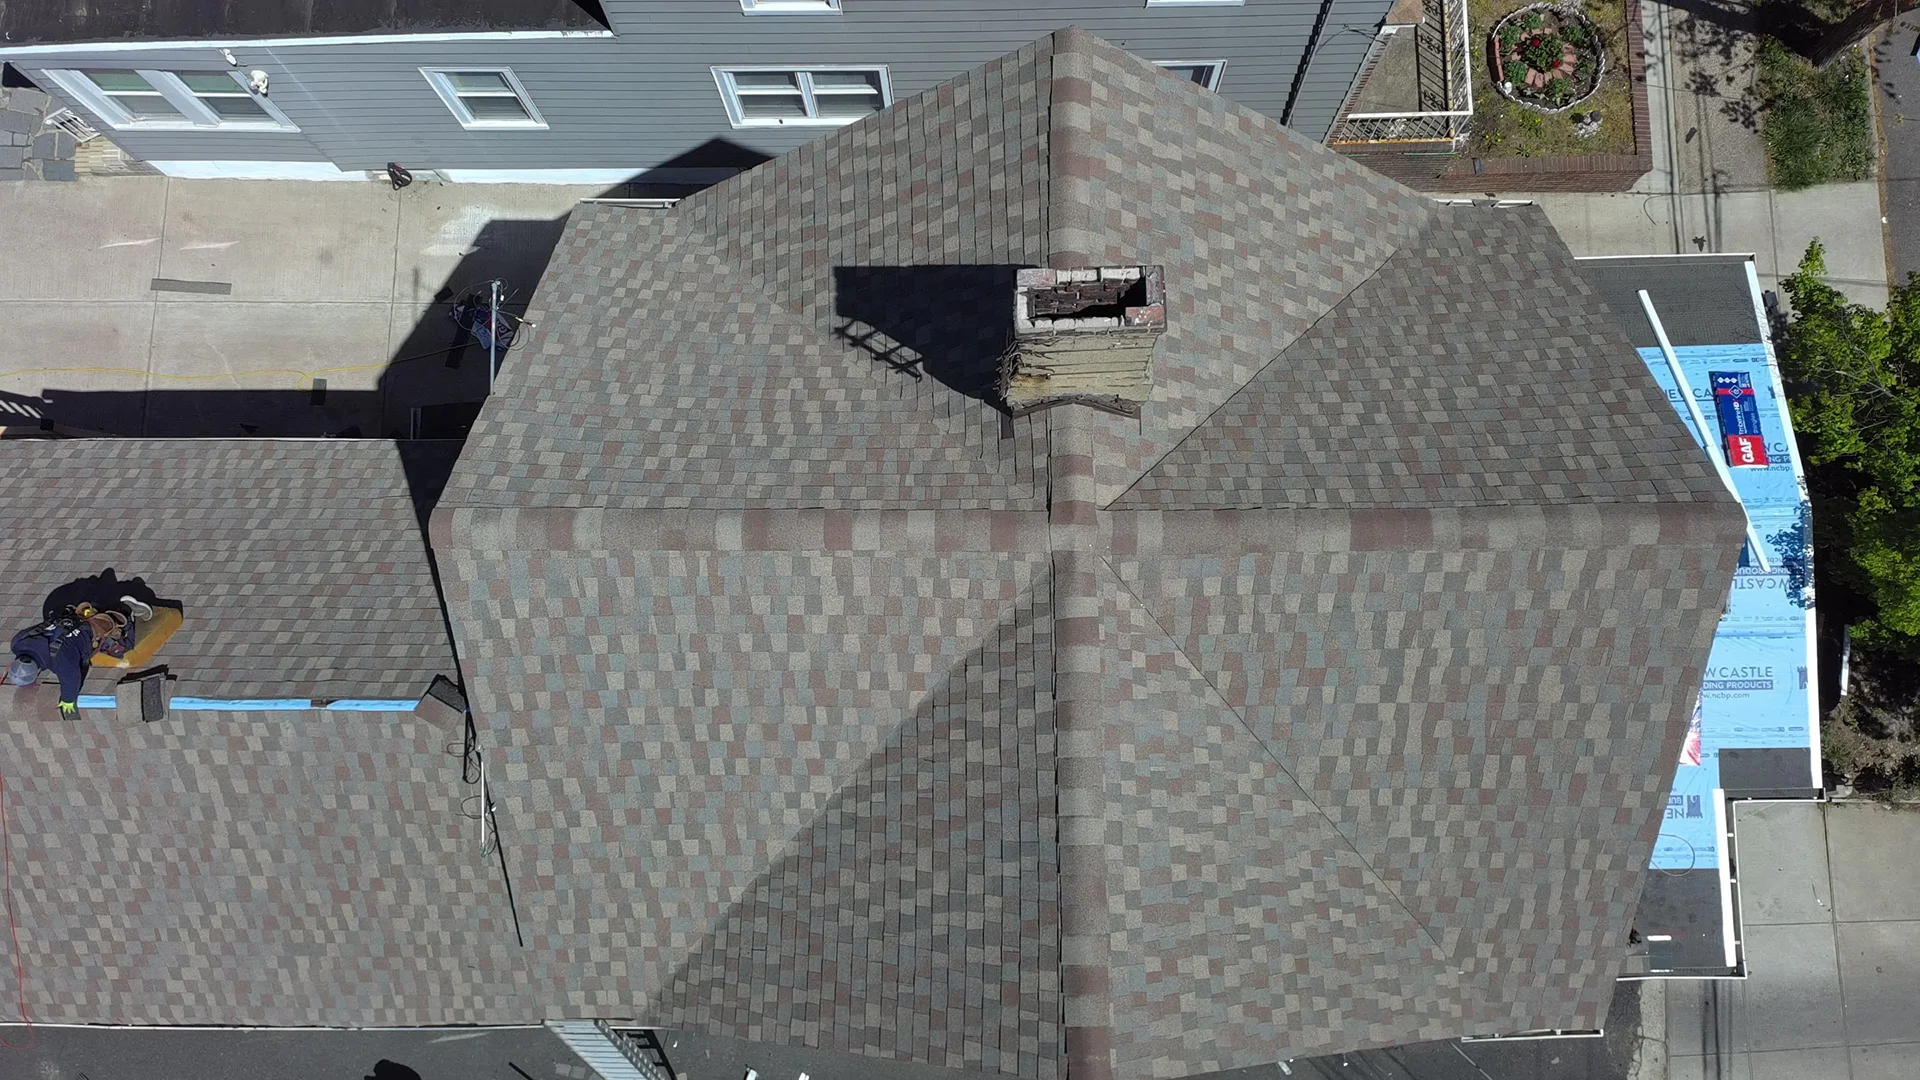
Before any panels go up, your roof needs a solid, continuous substrate. Standing seam requires plywood or OSB sheathing—not the spaced boards you might see on older homes or agricultural buildings. The panels need that solid backing to prevent oil-canning, which is the visible waviness that happens when metal doesn’t have proper support.
Experienced standing seam roofers inspect your existing deck first. If you’re replacing an old roof, we’re looking for rot around chimneys, valleys, and eaves where water damage concentrates. Damaged sections get replaced before anything else happens. Skipping this step means your new roof sits on a compromised foundation.
Next comes underlayment. This isn’t optional, even though the metal panels are waterproof. Synthetic underlayment works better than felt paper for metal roofs because it handles the higher temperatures metal creates. It also provides a secondary moisture barrier and helps manage condensation that forms when warm attic air meets cold metal.
The underlayment goes down in horizontal rows, overlapping at least 6 inches, with proper sealing at all seams. Ice and water shield gets applied along eaves, valleys, and around any penetrations—chimneys, vents, skylights. These are your vulnerable spots. The underlayment system protects them before the metal ever goes on.
Your roof’s pitch matters too. Standing seam needs at least a 3:12 slope for proper water runoff. Steeper pitches drain faster but make installation more challenging and require additional safety measures. We account for this when planning the project timeline and crew requirements.
All of this prep work happens before you see a single metal panel. It’s not the exciting part, but it’s what separates installations that last from ones that fail within a few years. We spend more time on preparation than most homeowners expect—because we know it’s where quality actually starts.
The Panel Installation Process and Why Precision Matters
Panel installation starts with layout planning—not with installing the first panel. We need to map where roof penetrations will land so they hit the flat part of the panel instead of a raised seam. Moving a vent pipe a few inches during installation is easier than trying to flash around a seam later. We also plan panel widths so the roof looks balanced. A 34-foot-wide roof using 16-inch panels needs careful calculation to avoid ending with a narrow 8-inch panel on one side while the other has a full-width panel.
The first panel sets the tone for everything that follows. It needs to be perfectly square to the eave, or every subsequent panel drifts off angle. We use chalk lines and take multiple measurements before securing anything permanently. Once the first panel is right, installation moves systematically across the roof.
Each panel’s male leg interlocks with the female edge of the previous panel. Snap-lock systems click together by hand. Mechanical-lock systems require hand seamers to fold the edges together along the full length. The seaming needs consistent pressure—too loose and water can infiltrate, too tight and you restrict the thermal movement the system is designed to allow.
Clips get installed along the male leg, typically spaced 12 to 24 inches apart depending on wind requirements. In Union County, where wind speeds can spike during storms, closer spacing provides better uplift resistance. Each clip attaches to the roof deck with screws driven into solid sheathing. The clips allow the panels to “float” and expand or contract without stressing the attachment points.
This floating characteristic is why standing seam handles temperature swings better than exposed fastener systems. On a summer day, your roof can be 40-50 degrees hotter than the air temperature. Metal expands. When the sun goes down, it contracts. Rigid attachment would cause buckling, warping, or fastener failure. The clip system accommodates this movement naturally.
Trim installation happens as panels go up—not as an afterthought. Drip edge, rake trim, valley trim, and ridge caps all need precise fitting and proper overlap. These pieces frame your roof and direct water away from vulnerable areas. Sloppy trim work creates the leak points that standing seam is designed to eliminate. Every trim piece gets sealed with butyl tape or appropriate sealant at overlaps and connections.
Flashing around chimneys, skylights, and wall intersections requires custom metalwork. Pre-formed flashings rarely fit perfectly, so we fabricate pieces on-site to match your roof’s specific angles and penetrations. The flashing extends under upslope panels and over downslope panels, maintaining the water-shedding pattern. Butyl tape seals all edges where flashing meets metal panels.
The final step is ridge cap installation. If you’re using a vented ridge, panels stop about 2 inches below the ridge line for air circulation. The ridge cap covers this gap while allowing hot air to escape from your attic. Non-vented ridges cap directly over the panel ends. Either way, the ridge cap overlaps at least 6 inches at all seams and gets secured through both sides into the ridge board.
Quality control happens throughout installation, not just at the end. We check panel alignment every few rows, verify clip spacing, and inspect seams as we go. Catching a problem early—a drifting panel line or a poorly formed seam—takes minutes to fix. Discovering it after the whole roof is done means removing panels and starting over in that section.
Want live answers?
Connect with a USA Home Remodeling LLC expert for fast, friendly support.
Standing Seam Steel Roof vs Aluminum: What Works for Union County
You’ll choose between steel and aluminum for your standing seam system. Both work. Both last. But they perform differently in New Jersey’s climate, and that difference affects which one makes sense for your home.
Steel standing seam roofs use 24-gauge material as the standard thickness. That’s about 0.025 inches. The steel gets coated with a zinc-aluminum alloy—usually called Galvalume—that combines 55% aluminum, 43.4% zinc, and 1.6% silicon. This coating protects the steel from corrosion and extends the roof’s lifespan to 40-70 years depending on your specific environment and maintenance.
Steel costs less than aluminum, typically $10-16 per square foot installed. It’s also more resistant to denting from hail or falling branches—something that matters in Union County’s wooded suburban neighborhoods. The higher density means steel panels feel more substantial and resist visible deformation better than softer aluminum.
When Aluminum Makes More Sense Than Steel
Aluminum standing seam roofs measure between .032 and .040 inches in thickness. Aluminum is about one-third the weight of steel, which reduces structural load on your home. For older homes or those with weight concerns, this lighter material provides an advantage.
The real benefit of aluminum is corrosion resistance. Aluminum doesn’t rust—ever. Even cut edges or scratches won’t corrode like steel can. If you’re within a mile of the ocean or in an area with high salt exposure from winter road treatments, aluminum outperforms steel significantly. The salt spray that causes rust on steel roofs doesn’t affect aluminum’s oxide coating, which naturally renews itself when damaged.
Aluminum costs slightly more than steel—typically $11-17 per square foot installed. The price difference reflects both the material cost and the fact that aluminum requires more careful handling during installation. It’s a softer metal, so panels can dent more easily from impacts. Textured or striated panel profiles help mask minor dents and reduce the visibility of any cosmetic imperfections.
One consideration many homeowners don’t anticipate: aluminum has a higher coefficient of thermal expansion than steel. It expands and contracts more dramatically with temperature changes. This isn’t a problem when the system is designed correctly with proper clip spacing and allowances for movement. But it does mean aluminum installations require more precision in allowing for expansion gaps at panel ends and transitions.
For Union County specifically, steel makes sense for most applications. You’re not in a coastal environment where salt spray is constant. The climate includes temperature swings, snow loads, and occasional hail—all conditions where steel’s density and impact resistance provide practical advantages. Aluminum becomes the better choice if your home is in a microclimate with specific corrosion concerns or if reducing roof weight is necessary for structural reasons.
Paint finish matters as much as the base metal. Both steel and aluminum panels come with paint systems—typically either SMP (silicone-modified polyester) or PVDF (polyvinylidene fluoride, often called Kynar 500). PVDF costs 30-40% more than SMP but offers superior color retention and chalk resistance. For a roof you’re planning to keep for 50+ years, the PVDF upgrade usually makes financial sense. The paint stays vibrant longer, and you avoid the faded, chalky appearance that SMP develops after 15-20 years of sun exposure.
What Affects Standing Seam Metal Roof Cost in Union County
Standing seam installation costs $10-18 per square foot for steel or aluminum systems in 2026. For a typical 2,000 square foot roof, you’re looking at $20,000 to $36,000 total depending on material choice, roof complexity, and any necessary deck repairs.
Labor accounts for 60-70% of your total cost. Standing seam requires specialized skills and tools that most roofers don’t have. Mechanical seamers cost $2,000+, and the technique for creating consistent, watertight seams takes experience to master. This isn’t a system you want installed by a crew that primarily does asphalt shingles and decided to try metal for the first time on your home.
Roof complexity drives labor costs more than size. A simple gable roof with a 4:12 pitch and no penetrations sits at the lower end of the cost range. Add dormers, valleys, multiple roof planes, steep pitches, or complex flashing details, and labor hours increase significantly. A Victorian home with 12 valleys and 6 dormers can cost double what a ranch with two roof planes costs—even if they’re the same square footage.
Trim and flashing add 30-40% to your panel cost for standing seam systems. These aren’t optional accessories—they’re essential components that make the system work. Ridge caps, valley trim, rake trim, eave trim, and custom flashing around penetrations all require material and labor. Cheap trim that doesn’t fit properly or isn’t sealed correctly creates the leak points that standing seam is designed to prevent.
Removing your existing roof adds $1-5 per square foot depending on the material and number of layers. Most standing seam installations require complete tear-off to inspect and prepare the deck properly. Some jurisdictions allow installing metal over one layer of existing shingles, which saves $2,000-4,000 on a typical home, but this requires structural approval and may not be recommended depending on your deck condition.
Timing affects cost too. Spring and summer are peak roofing seasons when contractors charge more because demand is high. Schedule your project in fall or winter and you might save 10-20% on labor. The tradeoff is weather delays and working conditions that can slow installation, but for homeowners with flexibility, off-season scheduling provides real savings.
The cost comparison that matters isn’t standing seam versus asphalt shingles today. It’s standing seam once versus asphalt shingles two or three times over the next 50 years. Asphalt costs $4-8 per square foot installed but lasts 15-20 years. You’ll replace it 2-3 times in the lifespan of one standing seam roof. Over 50 years, shingles cost $15-24 per square foot when you account for multiple replacements. Standing seam costs $10-18 once. The math favors metal if you’re staying in your home long-term or want to eliminate the hassle and disruption of future roof replacements.
Choosing the Right Standing Seam Roofer for Your Project
Standing seam metal roofing delivers on its promises—decades of performance, minimal maintenance, superior weather protection—when it’s installed correctly. Poor installation eliminates every advantage and creates problems that cost more to fix than the original installation.
Look for contractors with specific standing seam experience, not just general metal roofing work. Ask to see completed projects similar to yours. Verify they’re licensed and insured in New Jersey, and check that they carry manufacturer certifications for the panel system they’re proposing. Those certifications mean the manufacturer has trained them on proper installation techniques and will honor warranty coverage.
Get detailed estimates that break down material costs, labor, trim, and any additional work like deck repairs. Vague quotes that just show a total number make it impossible to compare contractors or understand what you’re actually paying for. Transparent pricing from the start indicates a contractor who’s confident in their work and their process.
We’ve been installing standing seam metal roofs for Union County homeowners for over a decade. We handle the entire process—from helping you choose between steel and aluminum to managing any permit requirements to ensuring your installation meets manufacturer specifications for full warranty protection.